DIY Holiday Card Tutorial and Template
December 2, 2015Last week we had a blast creating some festive holiday cards using two different materials and laser engraving techniques:
1. Fancy Cut-out Pop Up Card
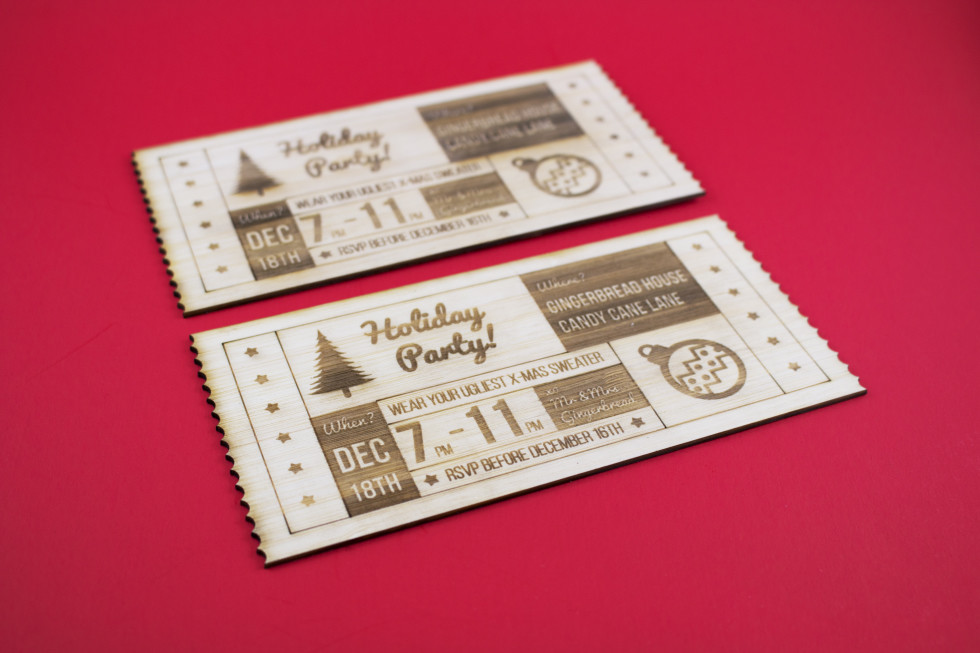
2. Custom Engraved Bamboo Invite.
Complete with handy tips and a downloadable laser engraving template, this post will teach you how to make a holiday card that stands out on the mantle.
Step 1: Know Your Materials
When planning any DIY project it’s important to think about what material you want to use. Different materials have properties that work well for some processes and not for others. For example, for our Hot Pop holiday cards we used both bamboo wood and shiny card stock.
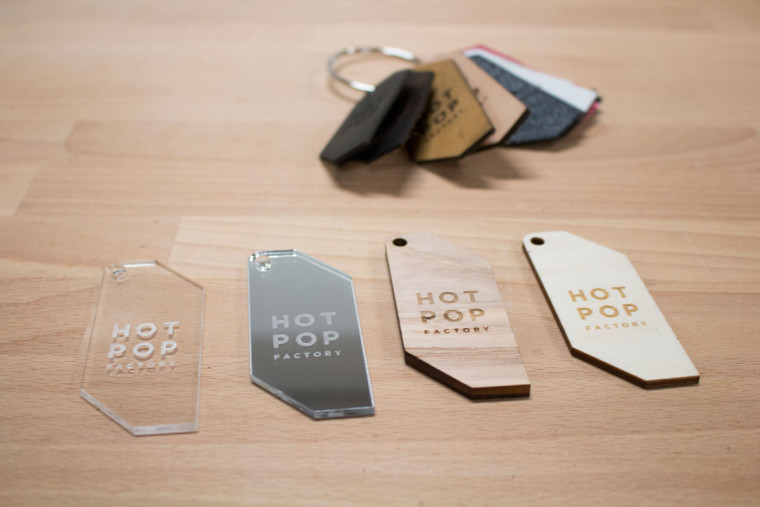
For the bamboo we knew we could use engraving and score lines with the laser engraving machine because there’s thickness in the material. With the card stock we instead used cut lines alone. Even though card stock is a thick paper, engrave and score lines would have removed the finish and made the card look like it was peeling. Laser engrave and score lines will reveal the material underneath, so you need to consider whether the underneath is something you want to show.
Step 2: Create Vector Artwork
Vector drawings define lines instead of pixels, and can be made with programs like Adobe Illustrator, Rhino and AutoCAD, to name a few. In contrast, raster images are made of pixels and can’t be used for laser engraving – these files include Adobe Photoshop files, JPEGs, PNGs, GIFs etc.. If you’re starting out and don’t know how to create vector files, you can download the pattern for the feature projects at the bottom of this post.
Step 3: Use Our Template to Get to Know Your Line Types
If you’re getting the itch to make your totally unique idea, a great way to start off is downloading the Hot Pop laser cutting template available here.
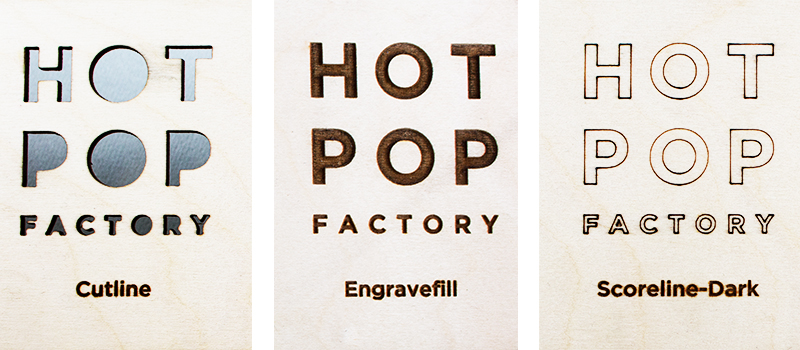
The first thing you will notice is that the file has 3 layers — cut, score and engrave. These three layers define 3 different ways the laser cutter can transform your material. Here’s what each one does:
– The cut lines are where the laser cutter will go all the way through the material you are using.
– The engrave area are where the laser engraver will precisely burn away the top surface your material so that there is a dark debossed area.
– The score lines are where the laser cutter will follow the vector path.
To make sure everything is aligned, all these different lines go in the same file but on different layers according to how you want them cut.
Step 4: Laser it!
With your material choice and artwork file ready, you can now submit your project for laser engraving production at Hot Pop Factory, or get your hands dirty at your local maker space.
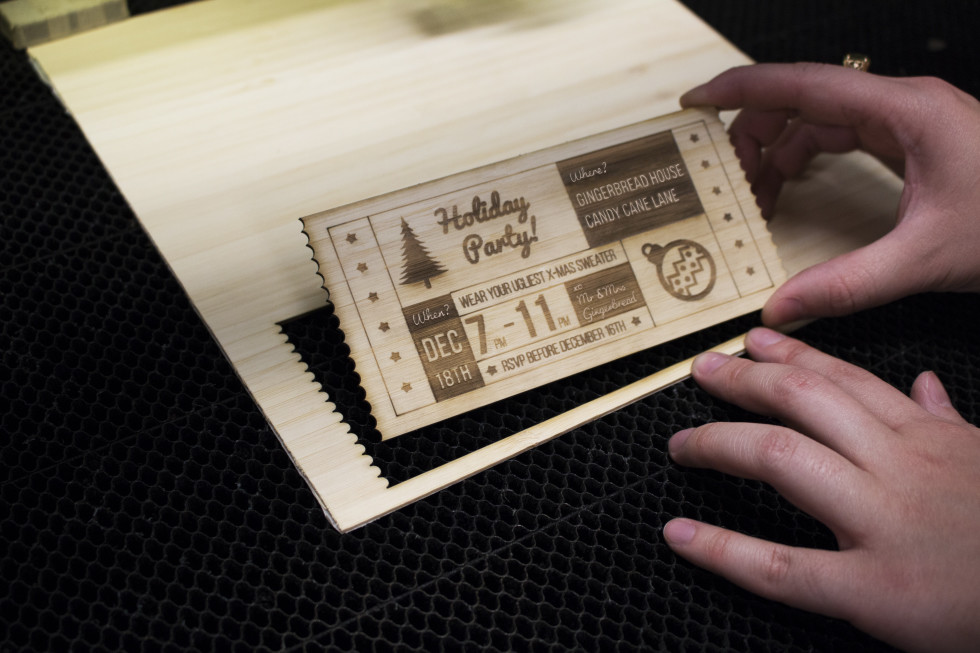
At our studio, we stock a wide array of common materials and can also work with what you bring in yourself. Here’s how the process went at our studio. For more ideas take a look at these order of service booklets that are fully personalized with your choice of songs, verses, thank you messages and images
What are you waiting for!? Go make some awesome cards of your own! Or, if you like the cards we’ve designed, you can DOWNLOAD THE TEMPLATE for both of them and start personalizing. Happy Holidays!

